I have recently been teaching my students at South Seas aspects of character design, and as part of the character design classes each student designed a character. As usual while my students are having fun drawing and designing it really gets my creative spark going, and of course I had to join in and design my own character!
This time I thought why not use the character I design to help me tackle character modelling in Maya. Something I have always wanted to get better at but not had the spare time required to really develop my skills.
Coincidentally I also needed to diversify my reel a little more with some new 3D work. So why not kill two birds with one stone.
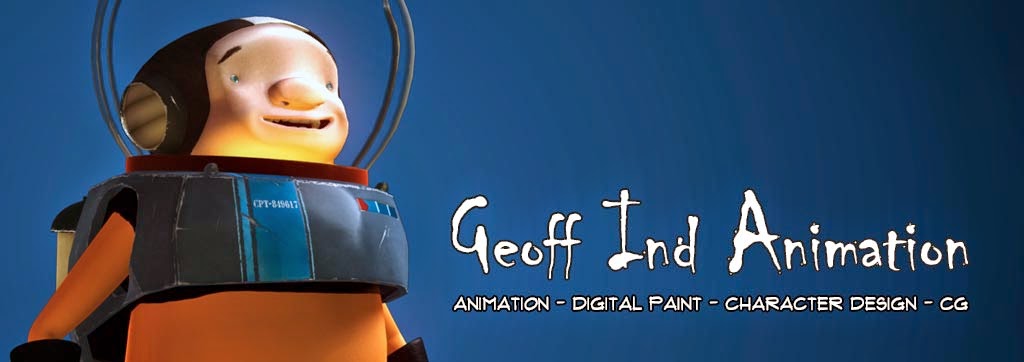
I had a really clear idea of the type of character that I wanted to design right from the start. I wanted to design a spaceman character that has very short body proportions but at the same time not look like a child (often a problem when designing characters that are around the 3 head high mark). I also wanted him to have a space suit consisting of a breathing chest pack, air tanks and helmet.
As always I start my design on paper, working out the basic shapes and proportions of what I had in my mind.
 |
| First Concept Sketch. |
When designing like this I will go through a series of drawings where I play with shapes, proportion, detail, contrast, and appeal. Trying to polish and simplify the design but still keep the character interesting.
For the spaceman character I had something I was happy with really very quickly. I think I spent about 45 -50 minutes drawing all of the concepts and had my character ready for development stage.
 |
| Second Concept Sketch. |
 |
| Last Concept Sketch with Final Character in pose. |
I really liked this aspect of his character, but having his mouth out of view would have had ramifications for animation down the line. I would have had to compromise acting and animation to make shots where he is talking read properly.
My plan is to incorporate this back into him during the rigging stage.
See you can have your cake and eat it too!
 |
| Developed character before and after head shift. |
As you can see I have already started to think about colour. My ideas are kind of a mix of Apollo space program and Star War's Rebel pilot with the black and white skull cap and the orange flight suit. Later in the process once I have completed the modelling and UV's, I will create a swatch sheet with samples of textures, colours and material types that I want to incorporate into his design.
I also intend to use this project to learn and develop a pipeline to incorporate the use of Autodesk Mudbox into my work process. I want to use Mudbox to sculpt extra detail into the character's and export bump, normal and displacement maps for use in Maya. I will still use my existing process of painting the Colour, Translucence, and Specular maps in Photoshop.
With the design of my Spaceman now complete, to move on and start modelling I first need to draw him from as many angles as required to model his features. In the case of most characters you can get away with just drawing the front and the side orthographic views but, in my case because of his chest pack I needed to draw front, side, back and top views. I didn't use the posed character in Maya but I included it just to add a bit of character to my model sheet.
 |
| Orthographic views of my spaceman character. |
This is where he is up to at the moment. I have mostly finished and all that is left is to figure out how his pack is connected to the body. At the moment its just floating there in space but my initial idea was to have a modelled piece of soft padding in between the hard metal shell of the pack and his fleshy soft bits, aren't I kind!
 |
| Modelled Spaceman. |
Ciao.
No comments:
Post a Comment